When an air conditioning system fails to cool a space effectively, it can lead to discomfort and frustration, especially during the sweltering summer months. Understanding the problem is the first step toward finding a solution. Common symptoms of an underperforming air conditioning unit include warm air blowing from the vents, unusual noises, or a complete lack of airflow.
These issues can stem from a variety of sources, ranging from simple user errors to complex mechanical failures. Identifying the root cause is essential for effective troubleshooting and repair. The complexity of air conditioning systems means that multiple components can contribute to cooling issues.
For instance, a malfunctioning thermostat may misread the temperature, leading to inadequate cooling. Alternatively, dirty air filters can restrict airflow, causing the system to work harder than necessary. By systematically addressing each potential issue, homeowners can often pinpoint the problem and take appropriate action.
This methodical approach not only saves time but can also prevent unnecessary expenses associated with professional repairs. Integrity Air Solutions Map Location: https://maps.app.goo.gl/6c4k5Nc1bApaTiek9
Key Takeaways
Understanding the problem is the first step in troubleshooting your HVAC system.
Checking the thermostat for accuracy and proper settings can help identify potential issues.
Inspecting and replacing dirty air filters can improve the efficiency of your HVAC system.
Examining the circuit breaker for tripped switches can help identify electrical issues.
Assessing the condenser unit for debris and damage is important for proper functioning of the system.
Checking the Thermostat
The thermostat serves as the brain of the air conditioning system, regulating temperature and ensuring that the unit operates efficiently. When troubleshooting cooling issues, the first step should often involve checking the thermostat settings. It is crucial to ensure that the thermostat is set to “cool” mode and that the desired temperature is lower than the current room temperature.
A simple oversight in settings can lead to significant discomfort, making this an essential first check. In addition to verifying settings, it is also important to assess the thermostat’s functionality. If the display is blank or unresponsive, it may indicate a power issue or a dead battery, depending on whether it is a digital or mechanical model.
Homeowners should replace batteries if necessary and ensure that the thermostat is receiving power. If these steps do not resolve the issue, it may be time to consider recalibrating or replacing the thermostat altogether. A malfunctioning thermostat can lead to inefficient cooling and increased energy costs, making it a critical component in maintaining a comfortable indoor environment.
Inspecting the Air Filters
Air filters play a vital role in maintaining indoor air quality and ensuring that an air conditioning system operates efficiently. Over time, these filters can become clogged with dust, dirt, and other debris, significantly impeding airflow. When airflow is restricted, the system must work harder to cool the space, leading to increased energy consumption and potential overheating of components.
Regular inspection and replacement of air filters are essential for optimal performance. To inspect air filters, homeowners should locate them within their HVAC system—typically found in the return air ducts or near the air handler. Filters should be checked monthly during peak usage seasons and replaced every three months or as needed.
A clean filter allows for proper airflow and helps maintain efficient operation. In contrast, a dirty filter can lead to various problems, including reduced cooling capacity and increased wear on the system’s components. By prioritizing filter maintenance, homeowners can enhance their air conditioning system’s longevity and efficiency.
Examining the Circuit Breaker
Metrics
Value
Number of Circuit Breaker Trips
15
Duration of Circuit Breaker Trips (in minutes)
10
Number of Circuit Breaker Resets
5
Reasons for Circuit Breaker Trips
Overload, Short Circuit
The circuit breaker serves as a safety mechanism for electrical systems, including air conditioning units. If an air conditioner suddenly stops working, one of the first places to check is the circuit breaker panel. A tripped breaker can prevent power from reaching the air conditioning unit, resulting in a complete shutdown.
Homeowners should locate the breaker associated with their HVAC system and inspect its status; if it has tripped, resetting it may restore functionality. However, if the breaker continues to trip after being reset, this could indicate a more serious electrical issue within the system. Frequent tripping may suggest an overloaded circuit or a short circuit in the wiring.
In such cases, it is advisable to consult with a licensed electrician or HVAC technician to diagnose and resolve any underlying electrical problems. Ignoring persistent circuit breaker issues can lead to further complications and potential damage to the air conditioning unit.
Assessing the Condenser Unit
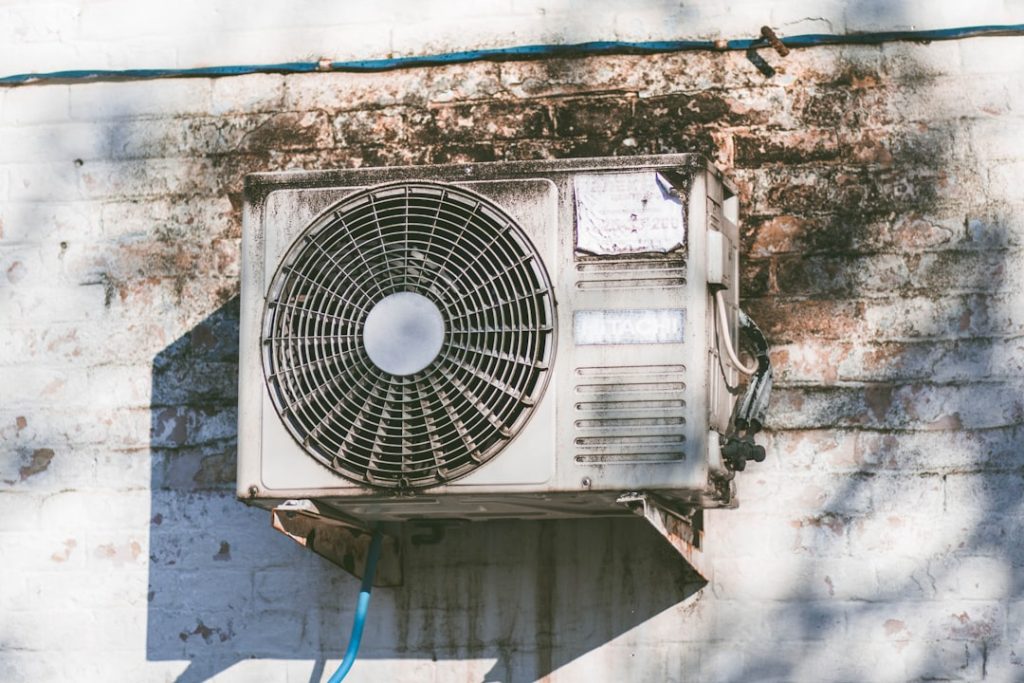
The condenser unit is an integral part of any air conditioning system, responsible for expelling heat absorbed from inside the home to the outside environment. Located outside the building, this unit requires regular assessment to ensure it operates efficiently. Homeowners should begin by inspecting the condenser for any visible signs of damage or debris accumulation around its exterior.
Leaves, dirt, and other obstructions can hinder airflow and reduce cooling efficiency. In addition to visual inspections, it is important to listen for unusual noises emanating from the condenser unit during operation. Sounds such as grinding or rattling may indicate mechanical issues that require immediate attention.
Furthermore, checking for proper refrigerant levels is essential; low refrigerant can lead to inadequate cooling and increased energy consumption. If any issues are detected during this assessment, it may be necessary to contact a professional technician for further evaluation and repair.
Cleaning the Evaporator Coils
The evaporator coils are another critical component of an air conditioning system, responsible for absorbing heat from indoor air and facilitating cooling. Over time, these coils can accumulate dust and grime, which can significantly impair their ability to function effectively. Regular cleaning of evaporator coils is essential for maintaining optimal performance and energy efficiency.
Homeowners should consider cleaning these coils at least once a year or more frequently if they notice reduced cooling capacity. To clean evaporator coils, homeowners should first turn off power to the unit for safety reasons. Using a soft brush or vacuum attachment, they can gently remove dust and debris from the coils’ surface.
For more stubborn buildup, a mixture of mild detergent and water can be applied with a soft cloth or sponge. It is crucial to avoid using harsh chemicals that could damage the coils or surrounding components. After cleaning, homeowners should ensure that all moisture is thoroughly dried before restoring power to the unit.
Checking for Refrigerant Leaks
Refrigerant is essential for an air conditioning system’s cooling process; it absorbs heat from indoor air and releases it outside through the condenser unit. If there is a refrigerant leak, not only will cooling efficiency be compromised, but it can also lead to increased energy costs and potential damage to the compressor. Homeowners should be vigilant for signs of refrigerant leaks, such as hissing sounds or ice buildup on refrigerant lines.
To check for leaks, technicians often use specialized tools such as electronic leak detectors or ultraviolet dye injection methods. If a leak is detected, it is crucial to address it promptly by contacting a qualified HVAC technician who can repair the leak and recharge the system with refrigerant as needed. Attempting to fix refrigerant leaks without proper training can be dangerous and may violate environmental regulations regarding refrigerant handling.
Inspecting the Ductwork
Ductwork plays a vital role in distributing cooled air throughout a home; however, if there are leaks or blockages within the ducts, it can lead to significant inefficiencies in an air conditioning system’s performance. Homeowners should periodically inspect their ductwork for visible signs of damage or disconnections at joints and seams. Additionally, dust accumulation within ducts can restrict airflow and reduce overall efficiency.
To assess ductwork effectively, homeowners may consider hiring professionals who specialize in duct cleaning and sealing services. These experts utilize advanced techniques such as video inspection to identify hidden issues within duct systems that may not be visible during a standard inspection. Properly sealed and cleaned ducts ensure that cooled air reaches its intended destinations without unnecessary loss of efficiency.
Testing the Capacitor
The capacitor is a small but crucial component of an air conditioning system that provides an electrical boost to start up motors within the unit, including those in compressors and fans. If an air conditioner struggles to start or exhibits unusual humming noises without fully engaging, it may indicate a failing capacitor. Testing this component requires specialized tools such as a multimeter; however, homeowners should exercise caution when handling electrical components.
To test a capacitor’s functionality, one must first disconnect power from the unit and discharge any stored energy safely before removing it from its housing. Using a multimeter set to measure capacitance, homeowners can determine whether the capacitor is functioning within its specified range. If readings are significantly lower than expected or if there are visible signs of bulging or leakage on the capacitor itself, replacement is necessary to restore proper operation.
Examining the Fan Motor
The fan motor plays an essential role in circulating air through both indoor and outdoor units of an air conditioning system. If there are issues with airflow—such as weak airflow or no airflow at all—it may indicate problems with the fan motor itself. Homeowners should listen for unusual sounds coming from the fan motor during operation; grinding or squeaking noises may suggest that lubrication is needed or that there are mechanical failures.
To examine the fan motor effectively, one must first ensure that power is disconnected from the unit for safety reasons. Inspecting wiring connections for signs of wear or damage is crucial; frayed wires can lead to electrical shorts or complete motor failure. Additionally, checking for proper lubrication of moving parts can help maintain optimal performance levels over time.
If any issues are detected during this examination—such as overheating or failure to start—consulting with an HVAC professional may be necessary for repairs or replacement.
Calling a Professional
While many homeowners may feel comfortable performing basic troubleshooting tasks on their air conditioning systems, certain issues require professional expertise for safe and effective resolution. Calling in an HVAC technician becomes essential when problems persist despite initial troubleshooting efforts or when complex repairs are needed—such as refrigerant recharging or major component replacements. Professional technicians possess specialized training and experience that enable them to diagnose problems accurately and implement effective solutions efficiently.
They also have access to advanced tools and equipment that may not be readily available to homeowners. By entrusting repairs to qualified professionals, homeowners can ensure their air conditioning systems operate safely while maximizing energy efficiency and comfort levels within their homes. In conclusion, understanding how each component of an air conditioning system functions—and knowing how to troubleshoot common issues—can empower homeowners to maintain their systems effectively while minimizing discomfort during hot weather months.
When the AC stops working, the first thing to check is the air filter. A dirty or clogged air filter can restrict airflow and cause the system to malfunction. It is important to regularly check and replace the air filter to ensure the proper functioning of the AC unit. For more information on common HVAC system problems, you can read this article which discusses various issues that can arise with heating, ventilation, and air conditioning systems.
FAQs
What are the common reasons for an AC to stop working?
Some common reasons for an AC to stop working include a tripped circuit breaker, a dirty air filter, a malfunctioning thermostat, low refrigerant levels, or a faulty compressor.
What is the first thing to check when the AC stops working?
The first thing to check when the AC stops working is the thermostat. Make sure it is set to the correct temperature and mode (cooling), and the batteries are working if it’s a digital thermostat.
What should I do if the thermostat is set correctly but the AC still doesn’t work?
If the thermostat is set correctly but the AC still doesn’t work, the next step is to check the circuit breaker to see if it has tripped. Reset the breaker if necessary and see if the AC starts working again.
What if the circuit breaker is not the issue?
If the circuit breaker is not the issue, then check the air filter. A dirty air filter can restrict airflow and cause the AC to stop working. Replace the air filter if it is dirty and see if that resolves the issue.
What if the air filter is not the issue?
If the air filter is not the issue, then it’s best to call a professional HVAC technician to diagnose and repair the problem. It could be a more complex issue such as low refrigerant levels or a faulty compressor that requires professional attention.
 Air filters play a vital role in maintaining indoor air quality and ensuring that an air conditioning system operates efficiently. Over time, these filters can become clogged with dust, dirt, and other debris, significantly impeding airflow. When airflow is restricted, the system must work harder to cool the space, leading to increased energy consumption and potential overheating of components.
Regular inspection and replacement of air filters are essential for optimal performance. To inspect air filters, homeowners should locate them within their HVAC system—typically found in the return air ducts or near the air handler. Filters should be checked monthly during peak usage seasons and replaced every three months or as needed.
A clean filter allows for proper airflow and helps maintain efficient operation. In contrast, a dirty filter can lead to various problems, including reduced cooling capacity and increased wear on the system’s components. By prioritizing filter maintenance, homeowners can enhance their air conditioning system’s longevity and efficiency.
Air filters play a vital role in maintaining indoor air quality and ensuring that an air conditioning system operates efficiently. Over time, these filters can become clogged with dust, dirt, and other debris, significantly impeding airflow. When airflow is restricted, the system must work harder to cool the space, leading to increased energy consumption and potential overheating of components.
Regular inspection and replacement of air filters are essential for optimal performance. To inspect air filters, homeowners should locate them within their HVAC system—typically found in the return air ducts or near the air handler. Filters should be checked monthly during peak usage seasons and replaced every three months or as needed.
A clean filter allows for proper airflow and helps maintain efficient operation. In contrast, a dirty filter can lead to various problems, including reduced cooling capacity and increased wear on the system’s components. By prioritizing filter maintenance, homeowners can enhance their air conditioning system’s longevity and efficiency.
 The evaporator coils are another critical component of an air conditioning system, responsible for absorbing heat from indoor air and facilitating cooling. Over time, these coils can accumulate dust and grime, which can significantly impair their ability to function effectively. Regular cleaning of evaporator coils is essential for maintaining optimal performance and energy efficiency.
Homeowners should consider cleaning these coils at least once a year or more frequently if they notice reduced cooling capacity. To clean evaporator coils, homeowners should first turn off power to the unit for safety reasons. Using a soft brush or vacuum attachment, they can gently remove dust and debris from the coils’ surface.
For more stubborn buildup, a mixture of mild detergent and water can be applied with a soft cloth or sponge. It is crucial to avoid using harsh chemicals that could damage the coils or surrounding components. After cleaning, homeowners should ensure that all moisture is thoroughly dried before restoring power to the unit.
The evaporator coils are another critical component of an air conditioning system, responsible for absorbing heat from indoor air and facilitating cooling. Over time, these coils can accumulate dust and grime, which can significantly impair their ability to function effectively. Regular cleaning of evaporator coils is essential for maintaining optimal performance and energy efficiency.
Homeowners should consider cleaning these coils at least once a year or more frequently if they notice reduced cooling capacity. To clean evaporator coils, homeowners should first turn off power to the unit for safety reasons. Using a soft brush or vacuum attachment, they can gently remove dust and debris from the coils’ surface.
For more stubborn buildup, a mixture of mild detergent and water can be applied with a soft cloth or sponge. It is crucial to avoid using harsh chemicals that could damage the coils or surrounding components. After cleaning, homeowners should ensure that all moisture is thoroughly dried before restoring power to the unit.